My sis-in-law had her little boy Malcolm about a month ago. As the due date approached I frantically worked on one more project, only to have it fail miserably and have to start again. Ugh. But the second one turned out just as I had hoped so I can't complain too much.
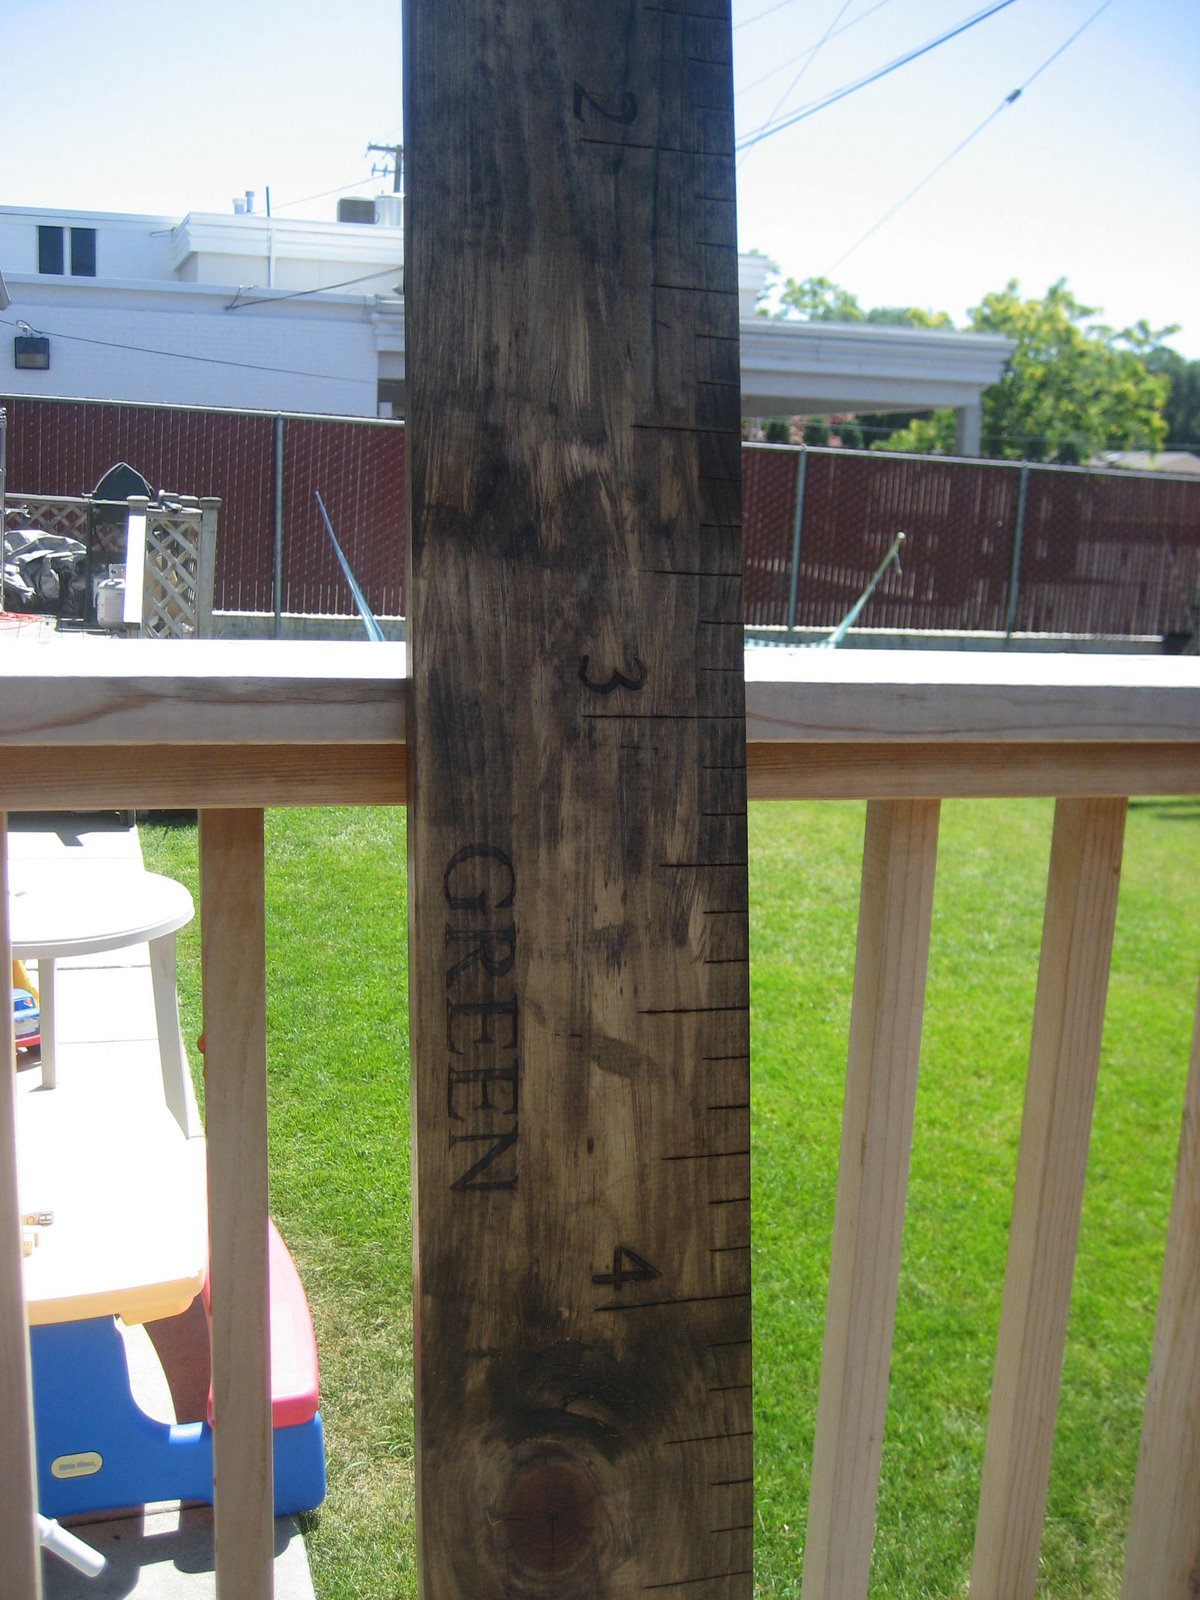
I love growth charts and I chose this style because I really love that it looks like a giant ruler. And they'll go with any decor.
They're really quite easy to make, if you don't screw up and have to start again. :)
Step one: measure out all your lines. My handy dandy sewing ruler was great for this since I could see through the plastic and make sure I was on target.
Step two: MEASURE AGAIN!
Step three: get your trusty wood burner and try not to burn yourself! I liked the tip you can see in this picture because it was really easy to make a straight line.
Step four: make a template of your numbers and lettering and trace them where you want them to end up. On a spare piece of wood try out the different tips for your wood burner so you can see what you like best. Curved number lines are much more difficult than the straight inch marks. Then CAREFULLY burn in your numbers and letters. BTW, I chose to go with their last name instead of the baby's name since I didn't think that years down the road they'd want 3 or 4 of these around their house. And I think it's fun to keep all the family's heights in one location.
Step five (optional) apply a wood stain to your wood. Then try to sand off the stain and realize it's useless.
Repeat steps one - four since the wood stain looked absolutely awful! :)
Step six: seal your wood with spray sealer.
Just to compare: the good and the bad.

DD with cousin Malcolm. Finally a cousin on this side of the family!


 DD with cousin Malcolm. Finally a cousin on this side of the family!


No comments:
Post a Comment