Showing posts with label craft. Show all posts

Monday, September 5, 2011

Ruler growth chart

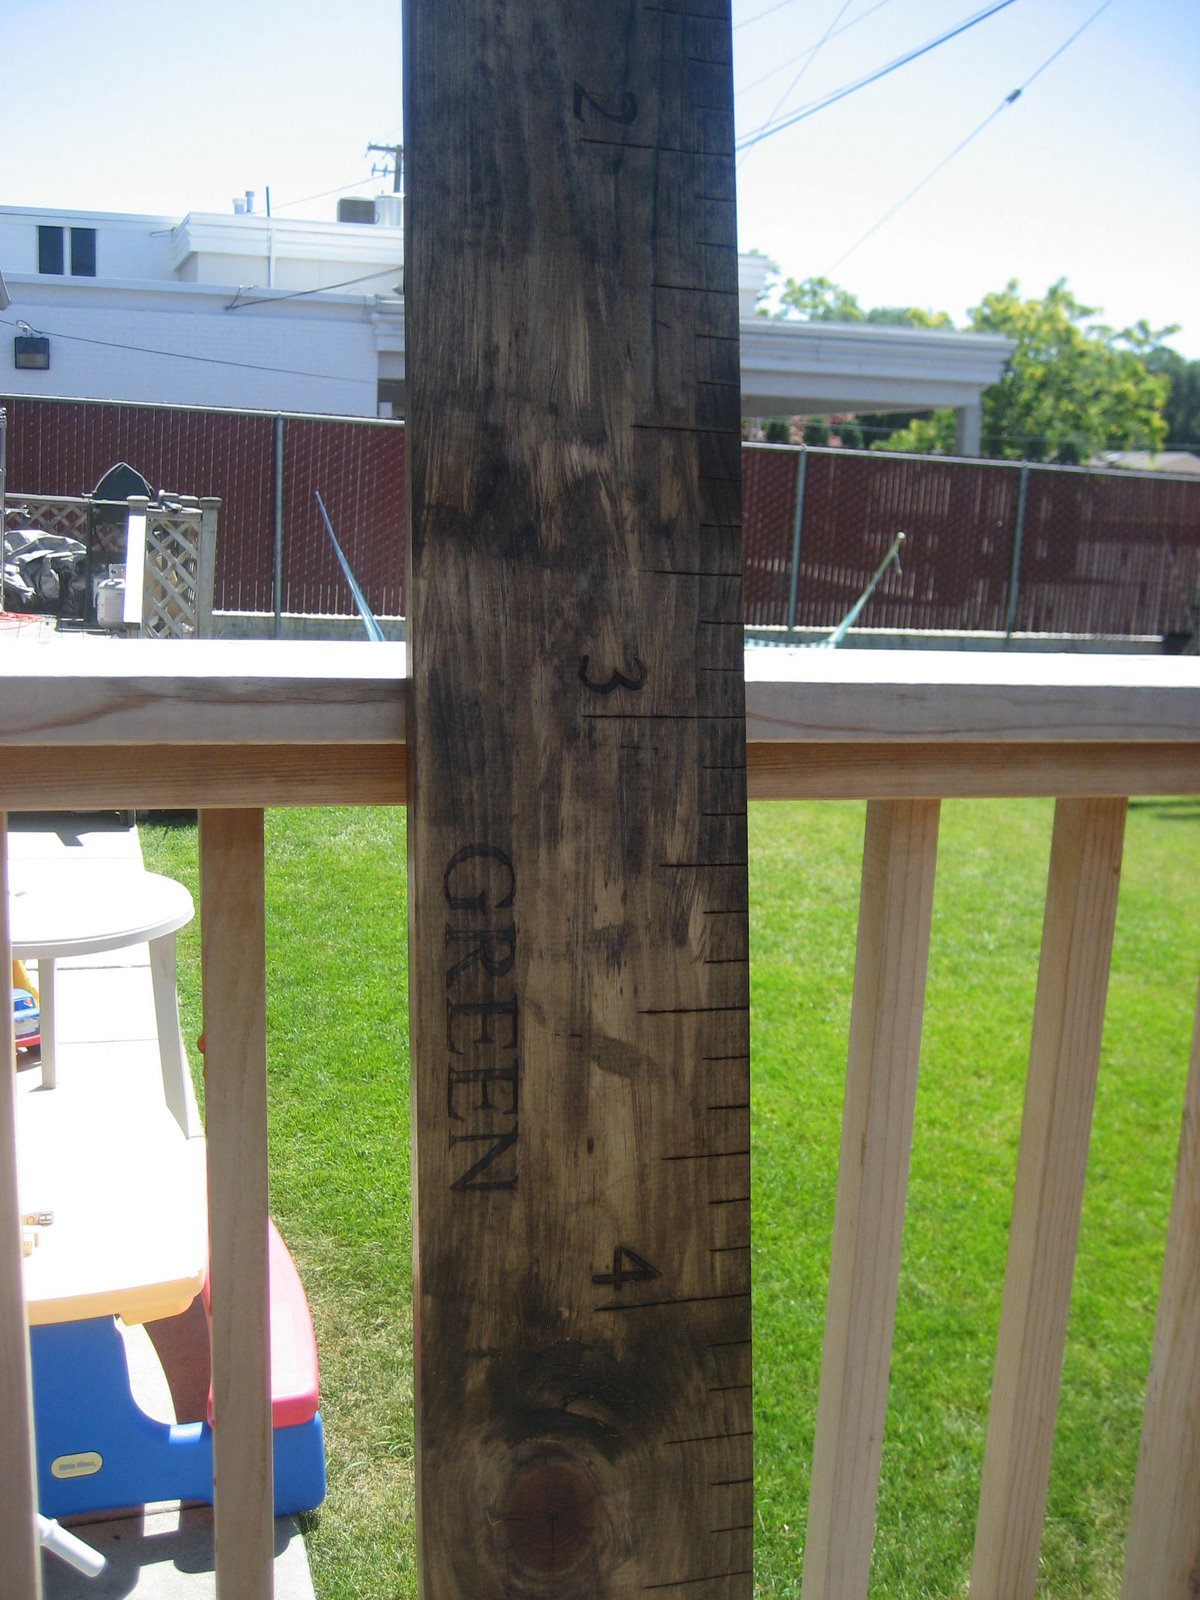
My sis-in-law had her little boy Malcolm about a month ago. As the due date approached I frantically worked on one more project, only to have it fail miserably and have to start again. Ugh. But the second one turned out just as I had hoped so I can't complain too much.


I love growth charts and I chose this style because I really love that it looks like a giant ruler. And they'll go with any decor.

They're really quite easy to make, if you don't screw up and have to start again. :)

Step one: measure out all your lines. My handy dandy sewing ruler was great for this since I could see through the plastic and make sure I was on target.

Step two: MEASURE AGAIN!

Step three: get your trusty wood burner and try not to burn yourself! I liked the tip you can see in this picture because it was really easy to make a straight line.

Step four: make a template of your numbers and lettering and trace them where you want them to end up. On a spare piece of wood try out the different tips for your wood burner so you can see what you like best. Curved number lines are much more difficult than the straight inch marks. Then CAREFULLY burn in your numbers and letters. BTW, I chose to go with their last name instead of the baby's name since I didn't think that years down the road they'd want 3 or 4 of these around their house. And I think it's fun to keep all the family's heights in one location.

Step five (optional) apply a wood stain to your wood. Then try to sand off the stain and realize it's useless.

Repeat steps one - four since the wood stain looked absolutely awful! :)


Step six: seal your wood with spray sealer.

Just to compare: the good and the bad.

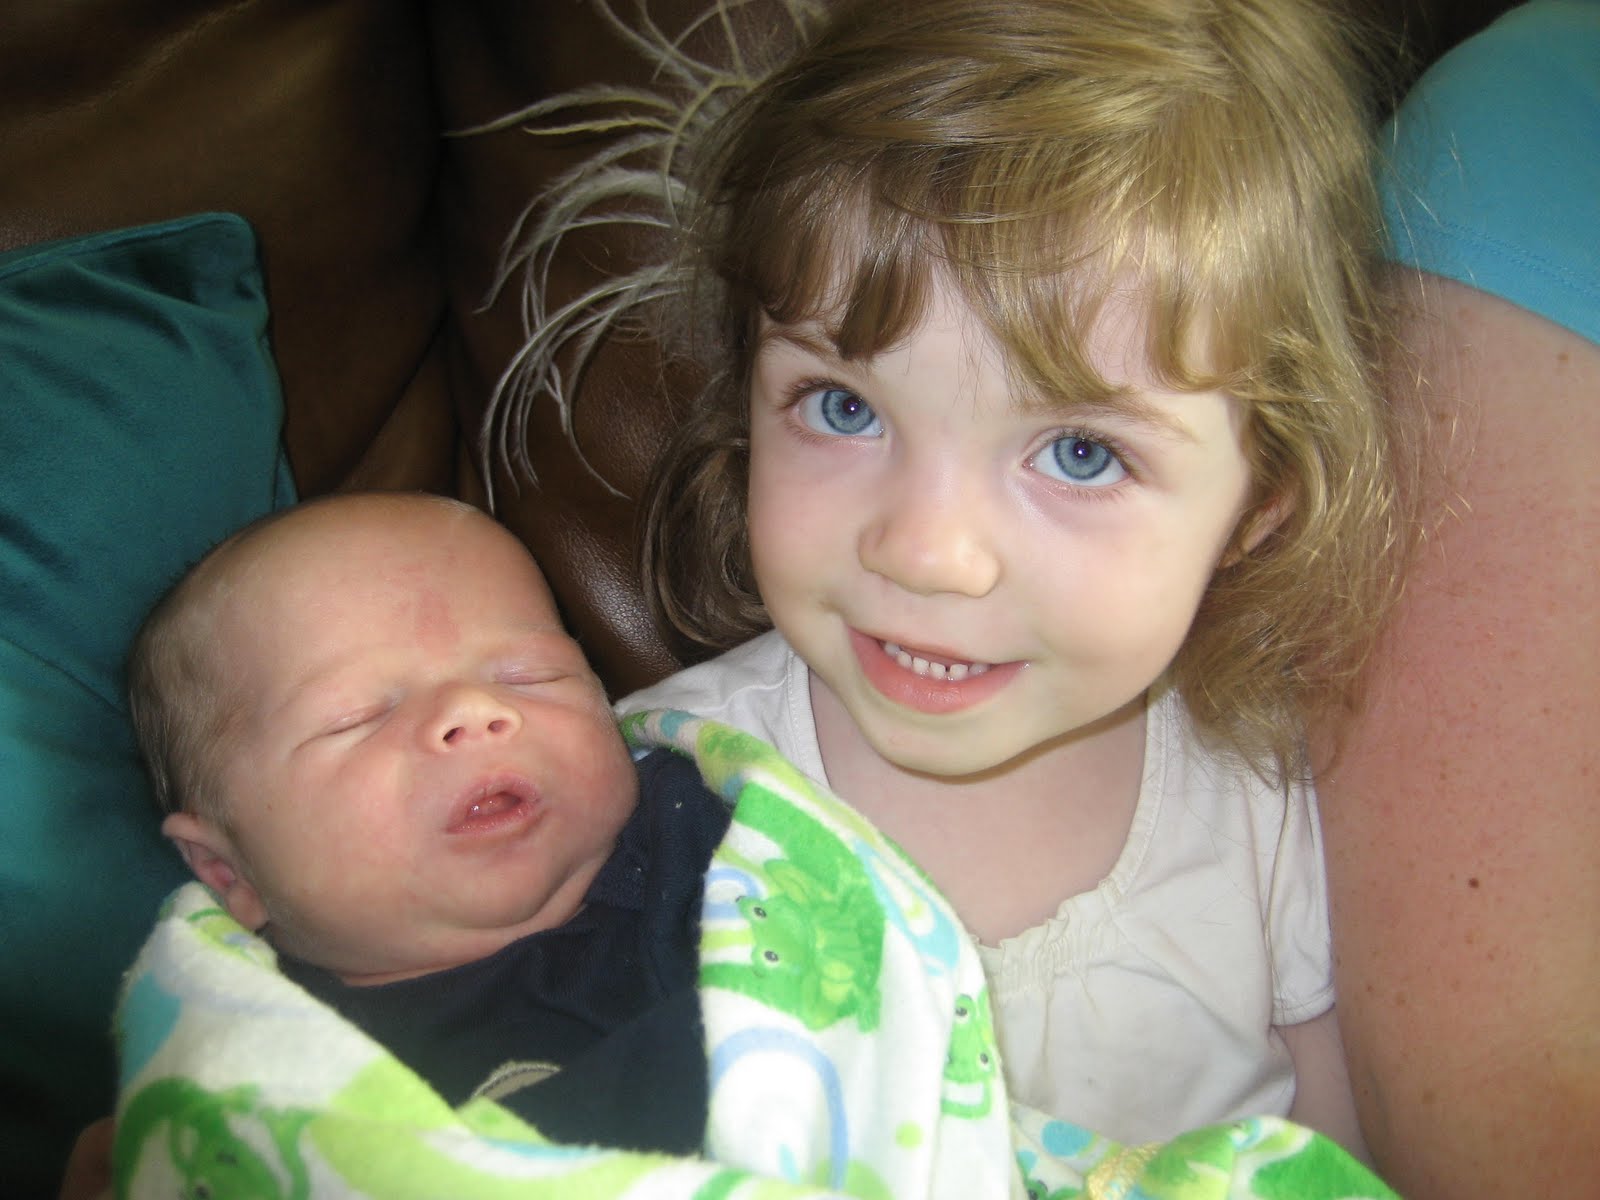
DD with cousin Malcolm. Finally a cousin on this side of the family!

Posted by Picasa

Tuesday, July 12, 2011

Brag Board


Last year for mother day
I made some brag boards for our moms but the one I had for DH's mom got damaged in transit so I never gave it to her. I wanted to give it another try this year and ended up giving her this. Instead of using the ghetto clothespins , I used sheet metal and magnets. MIL is in love with bottle cap magnets and has become quite expert at making them, so I figured that if she put this sign up in her office she could show off grandkid pics as well as her bottlecaps.


Posted by Picasa

Sunday, April 24, 2011

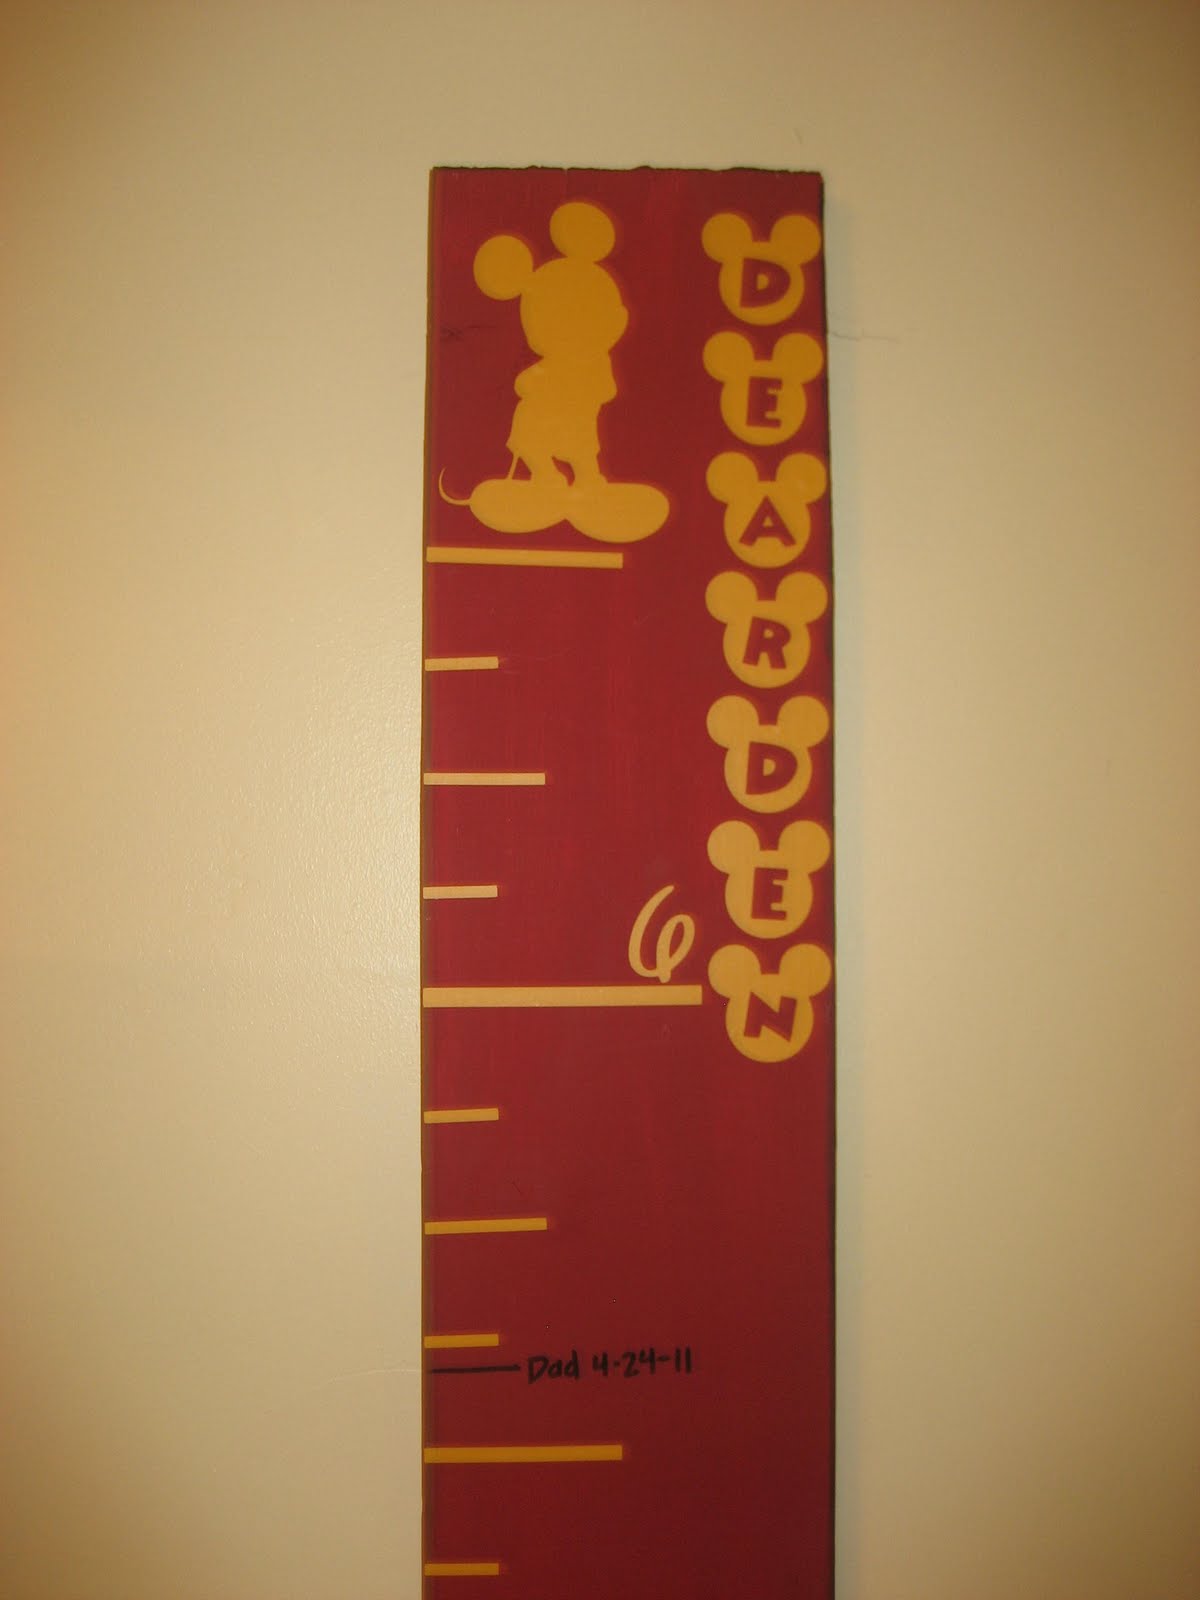
Family Growth Chart

I've had a growth chart in my mind for a while and yesterday I finally made one. I had intended to do one just for DD but decided instead to make one for the entire family. Mickey will always be a family favorite, even if DD doesn't maintain her obsession so I figured it was pretty safe.

It was easy enough to do, just a little time consuming. After completing it a light bulb went off and I realized an easier way. Next time I guess.

DH asks me almost weekly, "did she get taller overnight?" Now we can check. At 30 months and 8 days old she is just short of 3 feet tall. Don't ask me where she got the height.

Thursday, April 21, 2011

10 Minute Table Runner & Cake plate

I wanted to add a little Spring to the kitchen so I whipped this table runner up in literally 10 minutes, maybe less. Possibly the easiest thing in the world to sew. If you want a tutorial, let me know.

Also, I found this awesome plate at DI for $1 so I made it into a cake stand using an upside down sundae dish and some gorilla glue. Pretty self explanatory.

My kitchen feels spring-y. Mission accomplished.

Tuesday, November 9, 2010

Mickey Counters

I'm so proud of myself when I come up with something on my own, rather than copying ideas I see on blogs. These original ideas are few and far between, but I'm happy that they come at all.

This idea came from the frustration that all DD ever wants to do is watch Mickey Mouse Clubhouse. We've started having "art time," "dance time," "reading time," "cooking time," "clean-up time," and anything else I can come up with just to get her excited about something other than Mickey Mouse.

I wanted to limit how much she watches so I came up with this:


We keep this at her level on the side of the fridge and now every time she wants to watch Mickey, she has to take a "Mickey" off the board. Don't think I let my child watch 8 episodes a day! She gets 4 on the weekdays and 8 for the entire weekend. 4 a day even sounds like a lot!
It probably makes more sense to just have 4 Mickey's on the board, but DH and I liked the look of this.

Making it was simple. I just cut out 8 black Mickey ears and 4 red & 4 yellow Mickey ears that were 1/4" smaller, all on the Cricut. I have some Mickey paper that I used as a background then glued the black Mickey ears to it. I left the red & yellow Mickey's loose and took it all to Utah Idaho Supply to have it laminated. It was less than a dollar for all of this. When I got home I cut up adhesive magnets (97 cents a pack at Wal-Mart) and stuck them to the back of the colored Mickeys and to the front of the black Mickey's so they'd stick together and it was all done.

Super easy, and so far it's been really effective.
And again, sorry for the camera phone pictures.

Cricut Love

MIL let me bring home the Cricut while I'm working on DD's new Mickey room. It was a real pain to drive 30 miles to cut all the things I needed to.

I decided to stray from the Mickey cartridge tonight and make some Christmas cards for an upcoming achievement days activity.

I've been so focused on the Mickey cartridge that I never really took the time to browse through the others. I found some awesome cards for Thanksgiving which is was perfect to send the great-grandparents these turkey hands that DD recently made for art-time. I love this this autumn script and this cute little turkey.
While I was at it I made a "give thanks" banner for the mantle. I wasn't in the mood to string it so I just taped it right to the mantle.
As always, I realize I should have done things slightly different when it's too late. When I was attaching the leaves to the mantle, I wished I had them going in random directions, not so uniform. But by then the letters were glued on and it was too late. Oh well, I'll know for next time.

I still haven't found my camera. I hope that someday soon I'll stumble upon DD's hiding place. So these pics are all from my phone. They're awful, I know. Sorry.

Monday, October 11, 2010

Tutu Bow Holder

I've been on a bow making kick lately and DD's old bow holder just wasn't cutting it anymore. I decided to make a tutu bow holder. It seems a little more grown up for my almost 2-year-old (on saturday!) I used ehow's instructions.

Sorry for the picture, it's from my phone.

The tulle is 3 ft. long. I decided to start out long because I can always cut it down, but DD has a lot of bows so I'm glad it's that long.

This will look a lot better hanging in DD's room after I paint it. Her old color scheme is driving me nuts. I never really liked it, but I was in such a rush to do SOMETHING, that I ended up with something ugly.

So, this tutu holder will fit the new color scheme (when I actually get around to re-painting her room)

Cost for this project: $6.
Brown ribbon was $2 and 4 yards of tulle at Walmart was $4.
The bodice was made of foam board, which I had. The fabric and hanger I also had on hand.

After an hour or so and many hot glue gun burns later, I learned a few things that will make it easier when I make one for BFF's baby girl. It's really an easy craft and DD tells me it's "pity" and "oh! cuuuute"!

Wednesday, October 6, 2010

Halloween Potions

For the first time since I was a little kid, I am excited for Halloween. I never understood the desire to be scared or act silly. But that has changed. Maybe it's because DD is almost 2 and I can dress her up or maybe my in-law's love for the holiday has rubbed off on me, but I'm totally into it this year.

I went downstairs to find my Halloween decorations and was shocked at my lack of decor. I have a scary tree that glows and 2 pumpkins which are of Mickey & Winnie the Pooh. And all 3 of those items were bought by MIL. So I started blog surfing for ideas and found one that I LOVED! Substantially Chic Designs had the cutest potions display! So I decided to copy her ;)

I raided my fridge and transferred a bunch of stuff to Tupperware so I could use the glass and I spray painted the lids matte black.
I printed out a bunch of labels that she linked to. The only problem was that I was printing them at my in-law's house and didn't have my bottles with me to size them correctly.
I set made a list of things to buy at the dollar store but only found about 1/2 the things on my list so I came home and improvised.
I saw another blog that did Harry Potter potions and made labels out of brown paper bags so I decided to add a few of those.


I love the Vampire blood. I had this awesome bottle in the fridge which had some acai berry drink in it. I was happy to have an excuse to dump it. The label is from Love Manor and the liquid is water with a few drops of red food coloring.

The corrosive sublimate label from Spook Show and I just filled it with maple syrup.

The polyjuice potion is simply dirt and water. DH made the label.
The skeleton was supposed to have a label but I didn't print it. DH and I decided to leave it alone.


Living Death is another Potter reference and contains water with red & blue food coloring. The Danger: Unknown Specimen was a toy snake from the dollar store that I cut up. That one grosses me out.


I had this cool bottle that DH's grandpa gave us containing his homemade plum syrup. The syrup was almost gone and I thought it would be perfect for the Life Renewal Potion, which is water & green food coloring.

The Human Flesh label comes from Love manor and inside is a toy liver from the dollar store and water.


I was excited for the eye of newt. Like Substantially Chic, I got hydrating balls from the dollar store and added green food coloring. I didn't have a label so DH made one.
The petrified butterflies bottle is empty (shameful, I know). I've been trying to find butterflies at the dollar store but haven't had any luck. But I love the label, so I kept it.
The eyeball label comes from Spook show and just has chocolate balls with eyeball wrappers from the dollar store in it.


Now, this potions collection is on a floating shelf above the TV and I thought it needed a little more. MIL just bought a Cricut for us girls to share!!!!!!!!!!!!!!!!!!!!!!!!!!! and we got an awesome Halloween cartridge, but it'll be a few days before I'm at her house to cut something cute so I came up with something else.


Running off the Harry Potter theme, I made a warning sign on "parchment." I haven't decided it I love it yet, but it'll work for now.


I had made a potions sign with the cricut, but after adding the Harry potter stuff, it just didn't look right so I took it down.


I also made a trick or treat banner, but I wish I had made it bigger. I was really just playing with our new toy and that's what I came up with.


It's amazing the crafting possibilities a Cricut provides. DD is obsessed with Mickey Mouse Clubhouse. She's turning 2 in a week and we got a Mickey cartridge (of course) so I'm going to spend my lonely weekend while DH works making decorations for her birthday! So excited!


Linked up to Tea Rose Home

Sunday, May 16, 2010

Mother's Day Brag Boards

DH and I were tuck home last Sunday working for the mortuary, so I had an extra week to get our Mother's Day gifts done. They're finally complete and ready to give to our mom's.

I decided to make Brag Boards for them. I got the idea from a blog (which I can't find now) where the mom was sick of having her refrigerator covered in the kids' artwork & pictures, so she made a brag board.

I wanted to make them to fit both of our moms' personalities and I think I accomplished that.
Here is the one I made for my mom:

And here is the one I made for DH's mom:

This one was a little trickier than my mom's was. I went to Roberts to get white vinyl but they were out, so I had to figure something else out. I looked at chipboard letters but they were too small. I thought of letter stickers, but again, too small. I finally decided to use my neighbors cricut and cut out the letters. We found some really elegant ivory paper with a gold sheen (enlarge the picture to see) and then we found some awesome jewel embellishments.
I painted to board Cinderella blue, MIL's favorite color. Even her car is that color. I painted the border of the board and the clothespins ivory to go with the paper.

I'm pretty happy with the result. I think it looks better than it would have if I had just done white vinyl. Funny how that always happens; you go to the craft store with an idea and you end up doing something totally different.

I had pictures printed to hang from the clothespins but I cannot find them!!!! Hopefully I'll come across them before we head to our folks' houses.
*****Sad Update: DH's mom's brag board was damaged en route to her house. It was still a little tacky and DH's clack coat touched it. Now it's covered in black fuzzies. There is no way I'm giving this to my mother in law. Aaargh!

Wednesday, March 24, 2010

Hair Styling Mirror

DD hates having her hair done. She's got such a beautiful head of hair and I want to play around with different styles. Even something as easy as a pony tail is such a hassle that I usually give up.

DD likes to look at herself in the mirror so my mom suggested that I make a little hair station. We were at DI and my mom found a mirror that was perfect. It has a sturdy metal frame and 2 arms that look like they were meant to hold votive candles.

I got it home and spray painted the little arms white (I forgot to take a before picture...again) then I mod podge'd some scrapbook paper to the frame. I was so thrilled when I found this paper because has the colors that are already in her room as well as colors I plan to add if our next baby is a boy. DH hung this on the wall last night but DD is napping and I don't dare go in to take a picture of it on the wall.
I'm about to wake her up so we can go to Toddler Time at The Treehouse, so we'll see how well this works.

****Update: It's a week since I posted this and I finally got a picture of DD and the mirror. She LOVES it! No more wrestling to get her hair done!

Saturday, January 30, 2010

Project in the works...wall art

I've been wanting DH to paint something on our bedroom wall but I can't decide what I want. I saw this on Growing Up Creative and thought it was the perfect solution.

It's art made out of toilet paper rolls. My only problem now is that I have to wait for toilet paper rolls to come available so I can continue. Here's what I have so far:

I really like the natural brown color so I've decided to leave most of it brown and paint just a few flowers red to match our room.

Best of all, it's FREE!


Tuesday, December 29, 2009

Grocery Bag Holder

I loved this grocery bag holder that I found on one of my favorite sites Make It and Love It. I made one for my bro-in-law and his bride and loved it so much I decided to make one for my mom & sister.
I followed Ashley's tutorial which you can find here

I been obsessed with fabric flowers lately so I added one of those. You can find a great tutorial for fabric flowers here.

Tip Junkie has tutorials for many different types of fabric flowers. You can find them here.