We've decided to cloth diaper baby Q and since we only have 9 weeks left until her arrival, I decided it was high time I get everything I need to diaper her when we come home. I recently learned that Hobby Lobby and JoAnn's sells Babyville products, a line that has everything you need to make cloth diapers. After doing the math, I discovered that I could make about 8 diapers for the price of buying two. Now that's just common sense.
There are lots of free patterns out there but I couldn't find any that suited my needs so I decided to draft my own to be like the Thirsties Duo Wrap Snap cover because it's adjustable and can fit a baby from birth to about 18 pounds.
I did have to buy all of supplies because these are not things I have ever used before.
PRICE AND SUPPLIES
Supplies:
-Pattern
-16x16 square of PUL fabric
-snaps
-snap applicator
-about 1.5 feet fold over elastic or *FOE
-sewing machine, preferably with a 3 stitch ziz-zag capability
-good quality polyester thread
*FOE: There is a great seller on ebay called hobovian who sells FOE in a large variety of colors and it's incredibly cheap. She will even send you color samples for free. this link should take you right to her page or search "fold over elastic" on ebay.
**Obviously, if you're buying your supplies at JoAnn's or Hobby Lobby, you can use 40% off coupons for all of these items.
Here's the cheapest possible scenario to make 8 covers:
Buy 1 yard of fabric for $14.99, using a 40% off coupon for $8.99
Buy a pack of snaps for $7.99, using a 40% off coupon for $4.80
Buy 10 yards of fold over elastic on ebay for $3.30 + shipping, about $5 total
Buy a snap applicator (one time purchase) with a 40% off coupon for $12
Total cost of 8 cloth diaper covers: $18.79 + tax
Plus the one time cost of the snap applicator for $12.
$20 for 8 diaper covers is AMAZING. Even $31 (including the snap applicator) for 8 covers is still AMAZING! That's two covers retail!
JoAnn's sells a pack of coordinating pre-cut PUL squares, enough to make 3 covers, for $14.99. I almost bought a pack until I realized that I can make 8 covers for the same price (1 yard of fabric.)
The down side to my frugality is that I'll have a lot of covers using the same fabric, but remember you can always make wet bags, bibs, diaper changing mats and lots of other things with your leftover PUL.
TUTORIAL:
First I laid out all my pattern pieces and traced them on the wrong side of the PUL with a marker.
 Then I marked where all the snaps would be. In my pattern (which is made of poster board) I poked little holes where the snaps need to be so that I would just press a marker over the hole and it would leave a mark.
After cutting out all my pieces I taped the wings and rectangle in place, which are there to reinforce the snaps. I used tape to avoid putting holes in the PUL.

Then I used the awl (it comes in the snap applicator kit) to poke holes in the PUL for the snaps.

The actual application of the snaps is simple but this is one of the tricky parts of making the cover. You need to be cautious of which side the cap (smooth side of the snap) should be on and if you need to be using a stud or socket.
The caps need to be on the inside of the cover, except for the 4 on the wings. Also, on my pattern I have a 21 snaps total and I have a blue x over 4 of the snap marks. Those x marks need the opposite kind of snap than the other 17. So if I used a socket on the 17 snaps, I need to use a stud on the 4 with the blue x. If I used 17 SOCKETS on one diaper, I will use 17 STUDS on my next diaper so that I don't run out of sockets and have a pile of studs that can't be used. Make sense? I hope so because I re-wrote that about 10 times trying to make it understandable. Make sure you give the snaps a really good squeeze. I was having a hard time getting my snaps to click together so I started giving them 5-6 squeezes when I applied them, and I no longer have a problem.
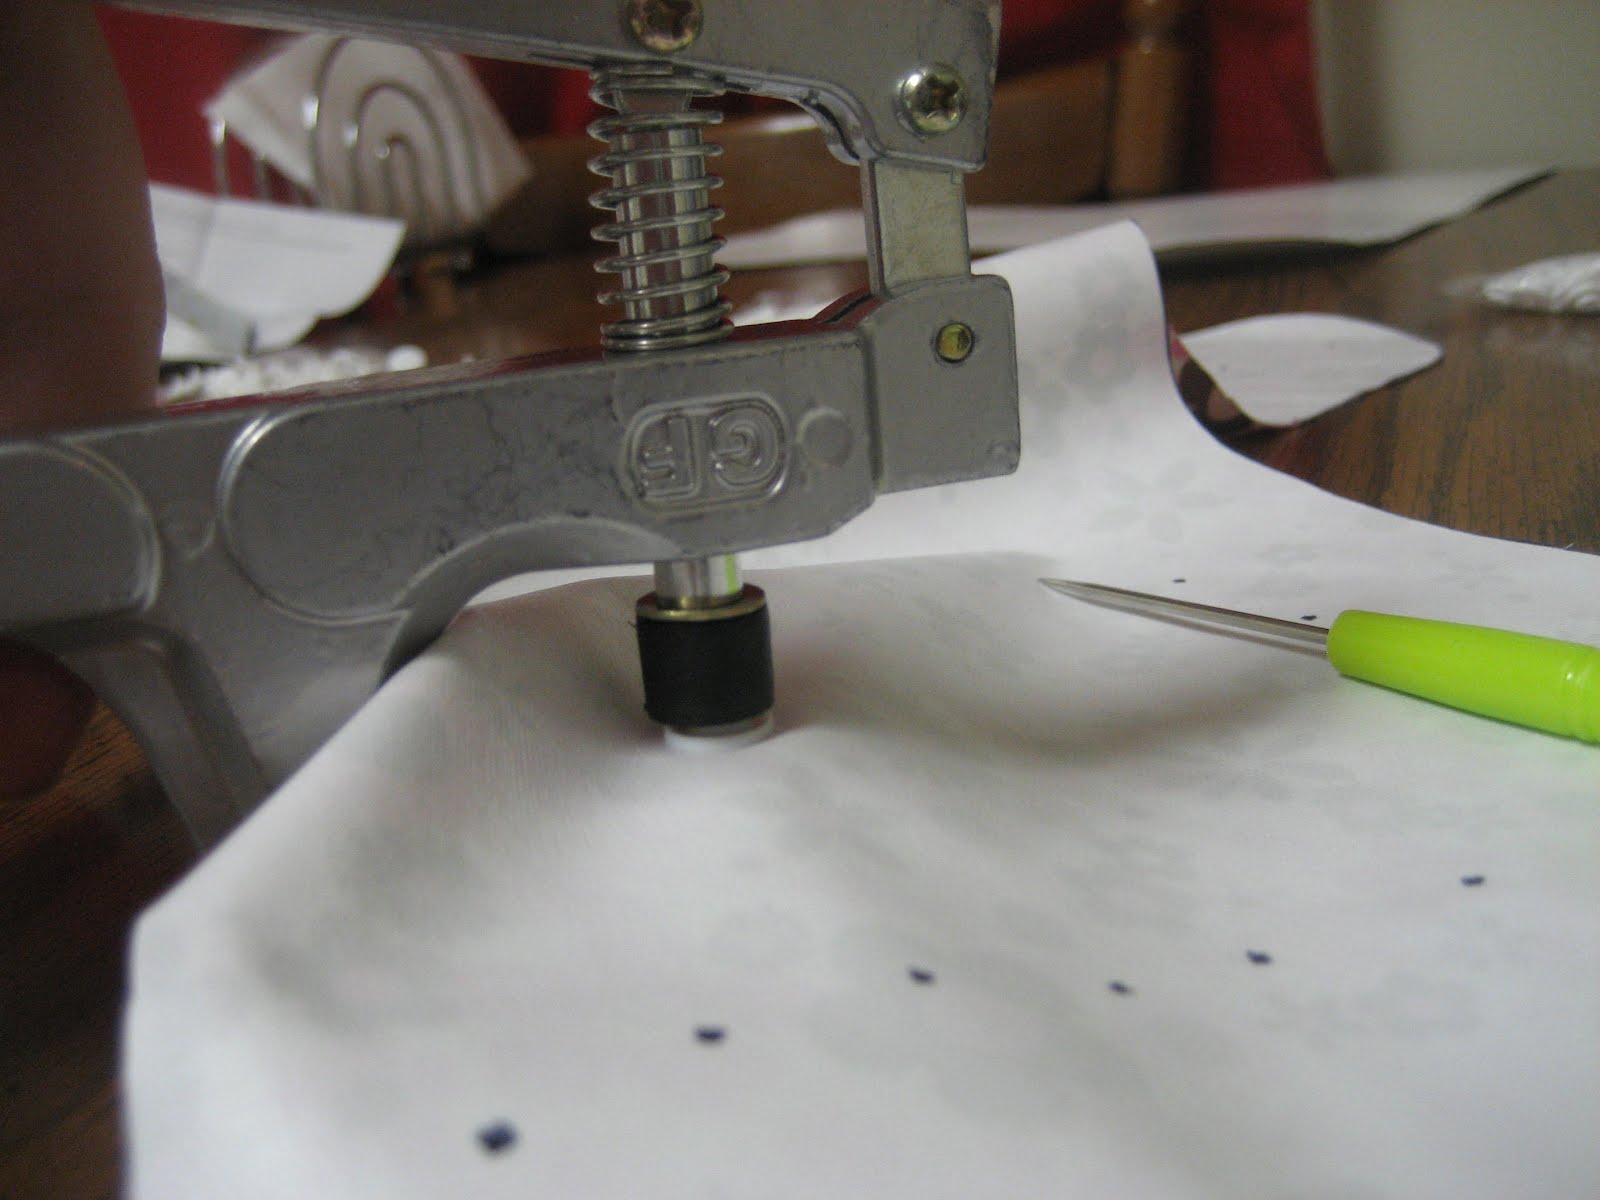
Now I'm about a half hour into this project and all the snaps are finally in place! All that's left to do is add the fold over elastic.

To apply the FOE, you start by adding elastic to the gussets and basting them in place. Then, starting near the top left wing, you sew using a 3 stitch zigzag (or a wide zigzag if necessary) but sewing it as you would normal bias tape and NOT STRETCHING IT. There are four sections where you need to stretch the FOE as you sew, the back, the legs and the front. One tip: go slow!
After you're done sewing and before you ever use them on baby, you need to put them in the dryer and let it run on hot for 20 minutes to seal the holes.
 It seems simple enough but it was a matter of trail and error for me. I bought a package of Babyville's FOE because I was too impatient to wait for my ebay order to arrive. I hate to say it, but I didn't like Babyville's FOE. It didn't have enough stretch to it which is okay for the outer edge of the cover but the gussets need a lot of stretch! So when I sewed my next diaper I used normal bias tape in the gusset area only and added some basic elastic from my stash. It turned out so much better! Here's a comparison:
 They look the same here, but when you open them up...
 ...the pink is much tighter. The green diaper has FOE in the gussets. The pink diaper has bias tape + elastic.
I'm happy with the overall size of the pattern. These pictures shows the original Thirsties Duo cover next to my pink cover.


I tweaked some things along the way. You can see in some pictures that my green cover has a squared top corner. I started sewing a rounded top corner because it was easier and looked nicer in the end.
I received my FOE from ebay today. I sewed another diaper and I liked the FOE much better.
Here's another option:
After seeing how effective the bias tape + elastic was, I sewed a diaper using only bias tape and I sewed little pieces of elastic into the 4 sections that needed it. This diaper also turned out really well, so if you don't want to spend the money on FOE, just buy double fold bias tape and some elastic (I think I used 1/4 inch but you could certainly use bigger.)

I am loving making these covers. But since my little one isn't here I don't know how well they work. I sent some home with my SIL to try on her 5 month old. I'm anxious to get her report!
****UPDATE****
My SIL tested the diapers on her baby, she said they work great!
I went to JoAnns and got some more fabric and some velcro. It occurred to me that snaps in the middle of the night might be a pain, so I wanted a few with velcro.
I bought the Babyville book and I'm really glad I did. It has great ideas and patterns. There are step by step pictures and instructions for all kinds of diapers. I highly recommend buying the book.
Here are a few more that I've made.

I found a style in the book that intrigued me called the snail shell.
It's a basic diaper cover that doesn't need to be made of PUL. There are snaps in the cover that hold a shell, which is a piece of PUL that holds a prefold or insert.


Cover
 With shell snapped in
 With prefold in place.
 With shell snapped in
 With prefold in place.
I can't wait to try out the snail shell. It would be so easy to snap shells in and out.
I've made more covers than Baby Q will ever need. I need to start trying pocket diapers or AIO's. I just can't stop!